


Week 5- PAFS
- Alisha Gupta
- Feb 25, 2023
- 2 min read
Stardust Technical Drawing
For the technical drawing of my compass I scaled it up to twice the size of the actual measurements and worked in 2:1 for this since this size was appropriate to clearly convey the design elements within the dial and rim of the compass. I made the front view of it first with the length of it being a 140 mm and the hook at the top another 20 mm. The width of the compass was equal to the length being the same and the inner rims were 106 mm down to 70 mm in size.

The back view was fairly plain with just the length and width being the main structure that was visible and the profile view held the depth of the instrument which was 12 mm.

An important detail I had missed out on including were the texture references which is a key detail to communicate the material of the prop for a prop maker which I realized much later. I did shade in the technical drawing as they were antique devices and it suited the presentation.

Blender Model
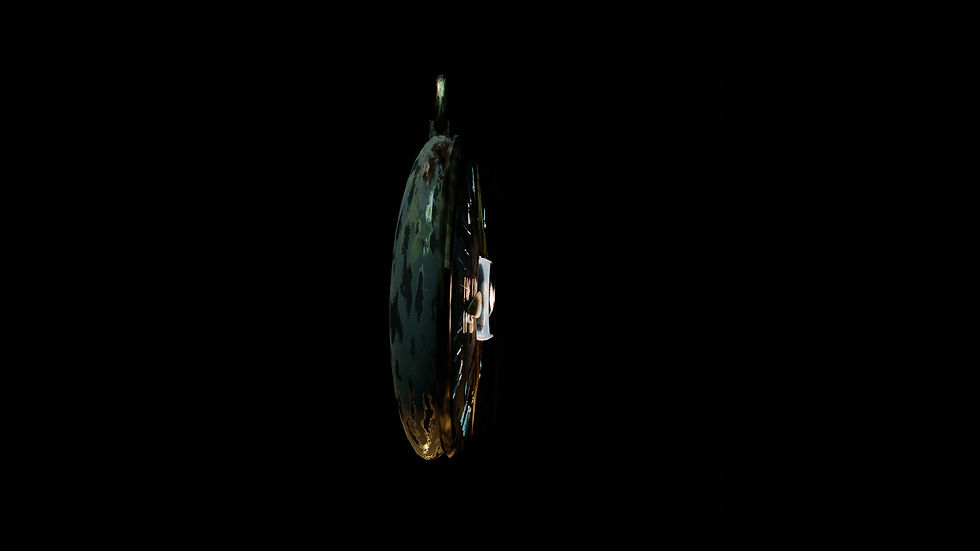
As an addition to the Technical Drawing I made a 3D model of the compass on Blender to better communicate the prop in a more realistic render of the final concept since I felt the drawings previously felt flat.


I modelled the compass based on the concept I painted on Procreate and used the same texture references for the materials to complete this. I wanted to really give strong atmosphere to the piece in a way it felt like it fit right into the story and could be found in the world of Stardust.


For this after modelling and texturing I went ahead and placed lights inside my model to illuminate the part of the crystal in the dial in a way it felt real and magical. I exported a turn around of the model with no background and a few renders of it with an HDRI background of Scotland itself where the filming took place to recreate that environment


Comments